

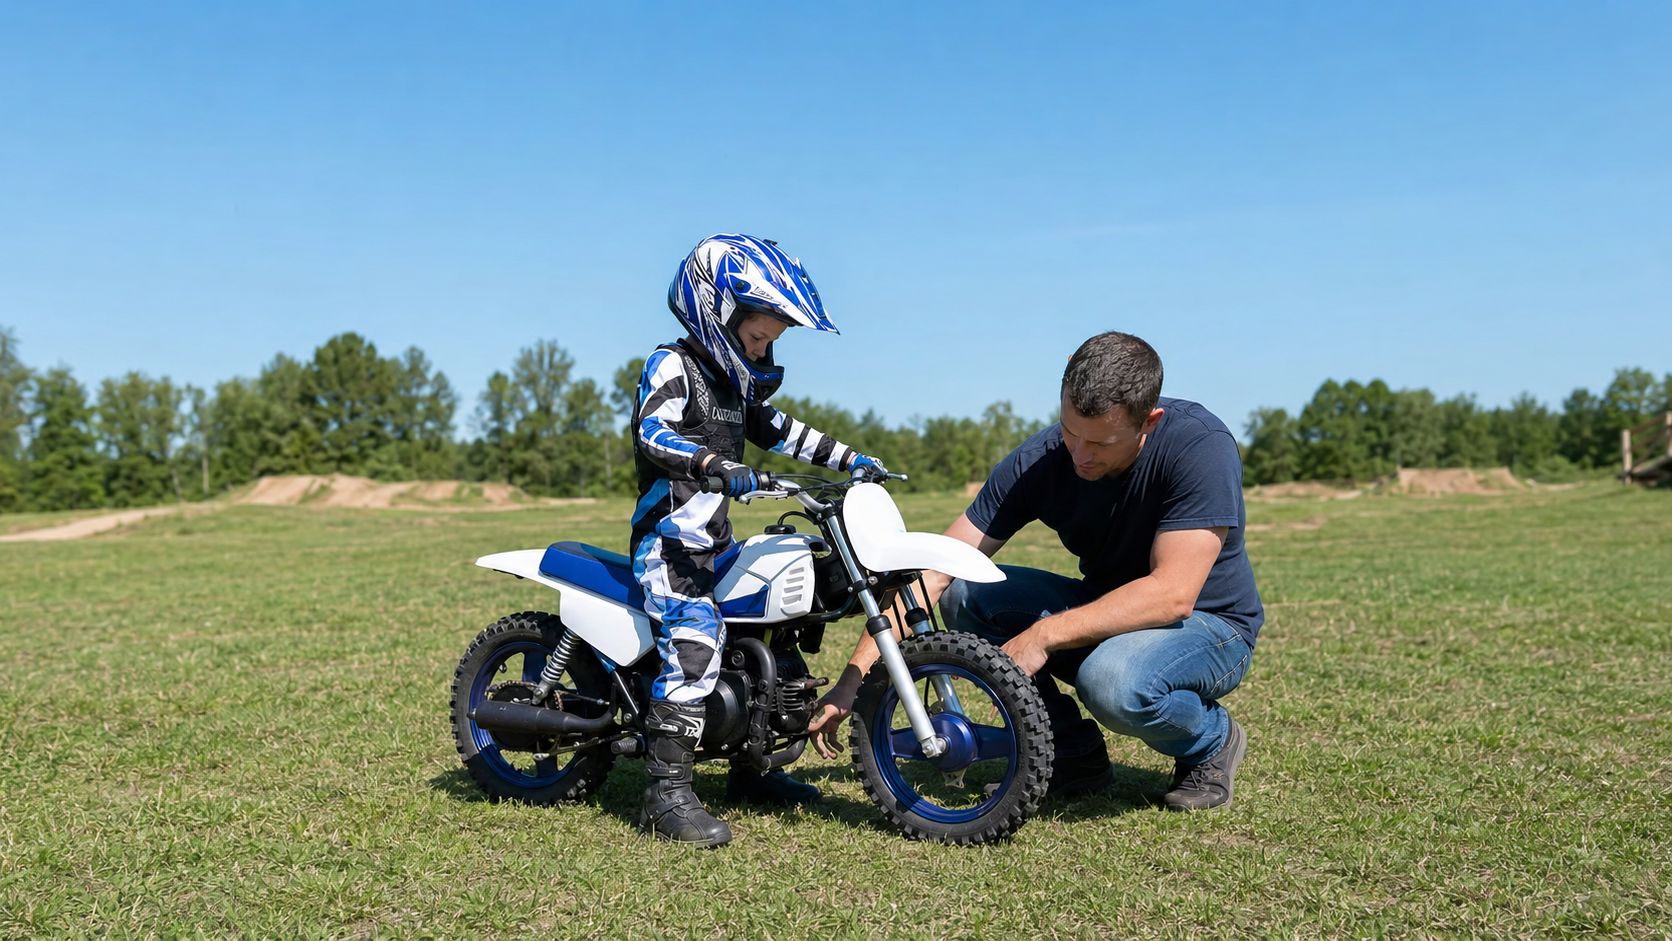
Buying a child’s first dirt bike is exciting, but the most expensive or powerful option is rarely the best starting point. A good first bike should help a young rider build balance, throttle control, braking habits and confidence without asking them to manage more size, weight or speed than they can reliably control.
1. Buying a bike for future growth
Parents often choose a larger bike so their child can “grow into it.” The problem is that an oversized bike makes nearly every beginner skill harder. The child may struggle to reach the ground securely, turn the handlebar without stretching, squeeze the brake comfortably or lift the bike after a tip-over. A wide seat can also make a published seat height feel taller than the number suggests.
Choose for control now. With the power off, the child should be able to mount, reach every control, hold the bike upright and push it several feet. Both feet need not be completely flat, but dependable ground contact is essential.
2. Choosing by watts or top speed alone
A higher motor rating does not automatically mean a better dirt bike, and a lower top speed does not automatically mean a safer one. Vehicle weight, throttle response, lowest available speed, brake feel, tire size, gearing and rider position all affect how manageable a bike feels. A heavy bike limited to 10 mph may be harder for a small child to control than a lighter bike with several selectable speed modes.
Compare the complete system: power delivery, lowest mode, brake reach and whether a parent can supervise the speed setting. Fit and predictable control matter more than one headline number.
3. Skipping the power-off lesson
The first lesson should happen before the motor is enabled. Ask the child to point to the throttle, brake, power switch and any mode selector. Practice getting on and off, looking ahead, keeping fingers ready for braking and returning the throttle fully to zero. Then have the child push or coast the bike and stop at a marked line.
Teach one emergency response: close the throttle, brake smoothly, put a foot down and switch off. If the child freezes or grabs the throttle when frightened, powered riding should wait.
4. Starting on a slope, loose surface or crowded route
A gentle hill can produce more acceleration than a new rider expects, while sand, mud, deep gravel, roots and ruts can make steering unpredictable. Cars, pets, trees, fences and spectators add distractions and reduce the space available for a safe mistake.
Start on flat, dry, open, permitted private property. Set visible markers with a long stopping zone. Practice straight starts and planned stops before wide turns; add hills or rougher ground later, one variable at a time.
5. Increasing speed after one successful ride
One clean lap can be luck. A rider is ready for more speed when the same skills appear repeatedly: smooth starts, eyes up, wide turns in both directions, throttle closed before braking and controlled stops without reminders. The child should also respond immediately to a parent’s stop signal.
Use the lowest mode for several sessions, not several minutes. Change one variable at a time. If the rider overshoots markers, stares at obstacles or forgets the brake, return to the previous level. Progress is skill-based.
6. Treating a helmet as complete protection
A properly fitted, certified helmet is essential, but it does not protect hands, eyes, elbows, knees, shins or ankles. Beginners commonly tip over at low speed, so gloves, eye protection, long sleeves, long pants, knee and elbow protection, and sturdy over-the-ankle footwear all have practical value. Loose laces, scarves and clothing should be secured away from wheels and moving parts.
Fit matters. The helmet should stay secure, gloves must allow full brake reach and boots must not obstruct controls. Replace damaged equipment according to its manufacturer’s instructions.
7. Ignoring inspection, charging and post-crash checks
Even a new bike needs a pre-ride check. Confirm that the handlebar and controls are secure, tires are correctly inflated, wheels rotate normally, the brake functions, fasteners appear tight and no cable or component is visibly damaged. Follow the owner’s manual for exact checks and adjustment limits.
Use the supplied or approved charger and never ride with a damaged battery, connector or cable. After a fall, switch off, check the child, then inspect handlebar alignment, throttle return, brakes, wheels and wiring. Stop if anything is bent, loose, unusually hot, swollen or cracked.
A simple first-ride progression
- Fit check: Confirm ground contact, control reach and the ability to hold and push the bike.
- Power-off practice: Rehearse mounting, coasting, braking and the emergency stop sequence.
- Straight starts and stops: Use the lowest mode on flat, open ground.
- Wide turns: Practice both directions while keeping eyes up.
- Repeat before advancing: Require consistent control across multiple sessions.
The American Motorcyclist Association’s guidance for riding with kids also emphasizes assessing readiness rather than assuming age alone makes a child prepared. Formal instruction, where available, can help parents and young riders build correct habits from the beginning.
Frequently asked questions
Should a parent hold the back of the bike?
Stabilizing a powered-off bike is useful, but running behind an energized bike can create unpredictable balance. Follow the manufacturer’s training method or use a qualified instructor.
What if the child is afraid after a tip-over?
Check for injury and inspect the bike. Return to an easier power-off exercise or end the session; do not pressure a frightened child to restart.
How long should the first session be?
End while attention and coordination are still strong. Several brief, successful sessions are better than one long, tiring session.
Next step
Choose the bike by fit, weight and controllable starting speed—not age or maximum power alone. See the Ecoleap K1, compare the Ecoleap K2, or read our kids’ electric dirt bike buyer’s guide.
Safety note: Rider readiness varies. Product speed and range can change with rider weight, terrain, temperature and riding mode. Kids should ride off-road only in permitted areas under responsible adult supervision. Follow the bike, battery, charger and protective-equipment manufacturers’ instructions.


Share:
STACYC Size Guide: Which Electric Balance Bike Fits Your Child?
Kids First Dirt Bike: How to Teach Kids Throttle Control