

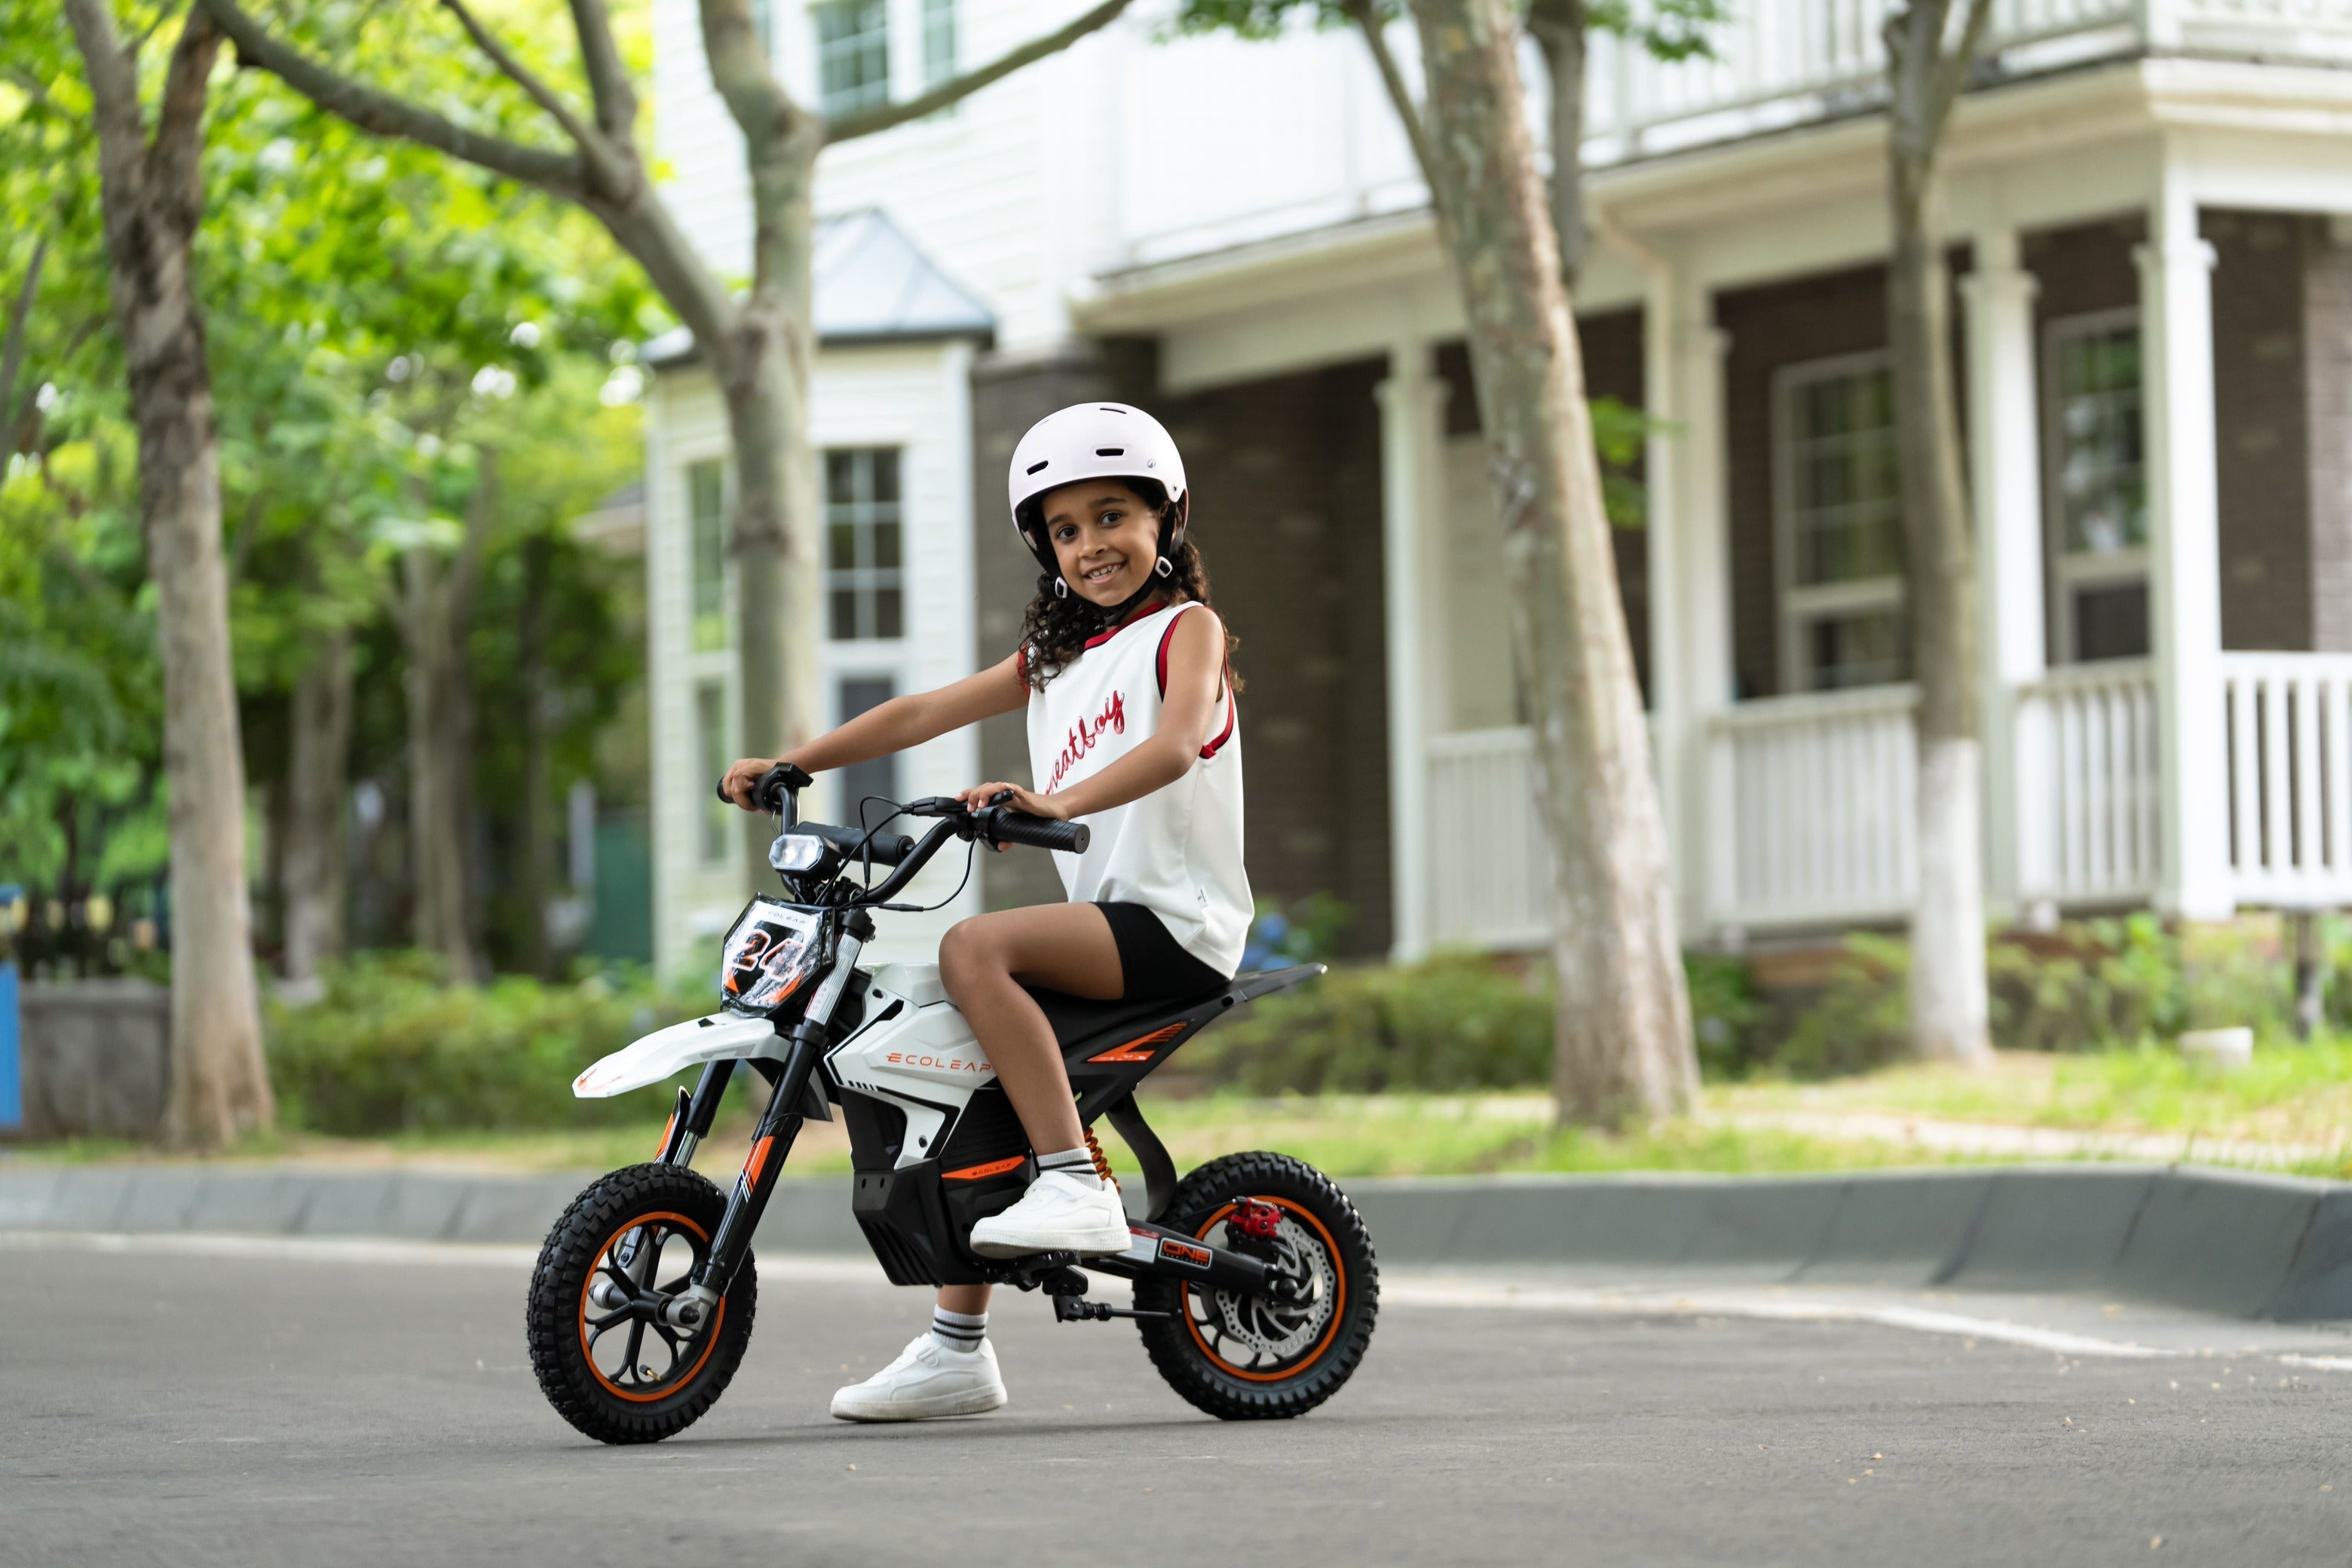
There is no single age at which every child should start riding a dirt bike. Some children are ready for a carefully limited electric bike at five or six, while others need more time even at eight or nine. The better question is: Can this child consistently balance, stop, follow instructions and control a bike that fits?

Why age alone cannot answer the question
Manufacturer age recommendations are important and should never be ignored, but children of the same age can differ greatly in height, inseam, hand strength, coordination, attention and riding experience. A confident six-year-old who has spent two years on a pedal bike may be more prepared than an eight-year-old who is still learning to balance. The opposite can also be true when the older child has the size and strength to manage a heavier machine.
Age also does not tell you whether the bike fits. A low seat can help a child touch the ground, yet the bike may still be too wide, too heavy or too fast. A child who can sit on a machine is not necessarily able to steer it through a slow turn, stop it on a slope or step away safely when it begins to fall.
The Motorcycle Safety Foundation's DirtBike School is available to riders age six and older, according to the American Motorcyclist Association. That is a useful reference for organized instruction, but it is not a universal declaration that every six-year-old is ready. Parents still need to evaluate the individual child and the specific bike.
A practical age-by-stage guide
| Typical stage | Best starting point | What to look for |
|---|---|---|
| Under about 3 | Walking, scooting and non-powered ride-on play | Basic coordination and the ability to stop safely with both feet |
| About 3–5 | Balance bike first; only a very small, manufacturer-approved powered model when fully ready | Independent balance, reliable listening and access to a very low beginner setting |
| About 5–7 | Common entry window for a size-limited electric dirt bike | Confident bicycle skills, brake reach, controlled starts and consistent stopping |
| About 7–10 | A larger youth electric bike or carefully introduced small gas bike, depending on fit and experience | Low-speed turning, hazard awareness, body position and enough strength for the bike's weight |
| Older beginners | A youth bike that fits now—not an adult bike chosen only because of age | Control, restraint and willingness to learn before seeking speed |
These are broad developmental stages, not buying instructions. Always follow the minimum age, rider-size limits and warnings for the exact model. Local laws, trail rules and training requirements can also set a higher minimum.
The seven readiness signs that matter most
1. Independent two-wheel balance
A child should be able to coast, steer and recover from a small wobble without an adult holding the bike. Pedaling is helpful, but the key skill is maintaining balance while looking ahead. Training wheels can create confidence, yet they do not prove that the child can balance a moving motorcycle.
2. Reliable stopping
Before adding power, ask the child to ride a bicycle toward a visible marker and stop with both hands under control. Repeat the test several times. A child who forgets the brake, drags both feet or needs a verbal reminder on every attempt is not ready for more speed.
3. Understanding of throttle-off
The child must understand that closing the throttle comes before braking. With the motor switched off, have the child hold the grip in a normal riding position, roll it gently and return it to zero without changing wrist position. A high wrist or stiff arm can make an accidental throttle input more likely.
4. Access to the controls
Small hands must be able to reach and squeeze the brake lever while maintaining a secure grip. The child should also reach the power switch, key or kill switch as designed. If the fingers barely touch the lever, the bike does not fit even if the feet reach the ground.
5. Enough strength for the bike
Turn the bike off and let the child walk beside it, turn it around and hold it briefly when it leans a few degrees. Do not deliberately tip a heavy bike onto the child. The goal is to see whether normal parking and low-speed corrections are manageable. Vehicle weight is often a bigger barrier than seat height.
6. Consistent response to instructions
The child should react immediately to simple commands such as “stop,” “slow” and “power off.” If attention disappears when the rider becomes excited, wait. Motorized riding requires following the rule every time, not only during a calm explanation.
7. Emotional recovery
Small mistakes are part of learning. A ready rider can pause, listen and try again without becoming reckless, frozen or overwhelmed. A child who wants to impress others, races siblings or becomes angry after a mistake needs more supervised practice before additional speed.
How to check whether the bike fits
Measure the child's standing height and inseam without shoes, then compare those measurements with the manufacturer's current fit guidance. Inseam is often more useful than age because it helps predict how confidently the rider can support the bike at a stop. Seat width and suspension sag also affect effective reach, so published seat height is only the beginning.
Use this five-part fit check with the bike powered off:
- Ground contact: the child can place both feet down securely or achieve the contact specified by the manufacturer for that model and skill level.
- Handlebar position: elbows remain slightly bent, shoulders relaxed and knees clear of the bars during a full turn.
- Brake reach: the child can squeeze the lever firmly without releasing the grip.
- Static control: the child can hold the bike upright and walk it several steps without an adult carrying most of the weight.
- Riding posture: the rider can look ahead and stand slightly on the footrests without being pulled forward by the bars.
Do not buy a much larger bike simply because the child will “grow into it.” An oversized machine slows skill development because the rider spends every turn fighting weight and reach. A properly fitted smaller bike often produces smoother braking, better posture and more confidence.
Electric or gas for a first dirt bike?
For many young beginners, a speed-limited electric dirt bike offers a simpler first step. Power delivery can be easier to manage, there is no hot exhaust, and there may be no clutch, fuel or engine starting routine. Multiple selectable speed modes can also let parents keep early sessions controlled and unlock performance only after the rider demonstrates consistent skills.
A small gas bike can be a valuable next stage for families pursuing traditional motocross, but the transition adds more than noise. The child may need to manage a heavier machine, engine vibration, hot components, fuel, stronger initial acceleration and a different braking feel. Even an automatic gas bike can be a substantial jump from a light electric balance bike.
Neither power source makes a bike automatically safe. A light electric model can still be too fast, and a low-seat gas bike can still be too heavy. Compare the entire package: minimum speed, throttle response, weight, wheel size, brake layout, seat height and the child's intended terrain.
Where K1 and K2 fit in the learning path
Ecoleap K1 and K2 are not interchangeable choices based only on the child's birthday. The smaller or less experienced rider should begin with the model that offers the best present-day fit and control. The K2 is intended for children who need more off-road capability and room to progress; its current configuration includes a brushless motor with up to 850W peak output, selectable speed modes, front and rear suspension and 12 × 2.75-inch tires. Those features provide growth potential, but they do not remove the need to pass the readiness and fit tests above.
A child should not start on the K2 merely because the family wants to avoid upgrading later. If the child cannot confidently manage its lowest setting, brake reach or approximately 42 lb vehicle weight, the correct choice is a smaller step, more bicycle practice or additional time. Conversely, an experienced rider who is already too tall or cramped on an entry model may need the K2's larger skill envelope.
A six-stage first riding session
- Gear and bike check: fit the helmet correctly; add eye protection, gloves, long sleeves, long pants, over-the-ankle boots plus knee and elbow protection. Check tires, controls, fasteners, battery security and brake function according to the owner's manual.
- Controls with power off: identify the throttle, brake, power control and emergency shutoff. Have the child demonstrate “throttle closed, brake applied, power off.”
- Walking drill: walk the powered-off bike through a wide turn and stop box. This reveals fit problems before motion begins.
- Straight-line start and stop: use the lowest mode on a flat, dry, open private area. Keep the first lane short and place a large stopping marker well before any boundary.
- Wide turns: add one cone at a time. Practice looking through the turn, smooth throttle and braking while upright before attempting tighter circles.
- End early: stop while attention and control are still good. Several short sessions build better habits than one long session that ends in fatigue.
Do not begin on hills, loose gravel, mud, jumps or a crowded trail. Those challenges can wait until starts, stops and wide turns are automatic on flat ground.
Clear signs that it is better to wait
- The child cannot stop a pedal bike consistently.
- Feet reach the ground, but the child cannot hold or walk the powered-off bike.
- The brake lever is out of reach or too difficult to squeeze.
- The rider freezes, grabs the throttle or forgets to look ahead when surprised.
- The child repeatedly ignores the practice boundary or asks to skip the lowest speed mode.
- The bike is being chosen mainly because a sibling or friend rides a larger one.
- The family does not have a legal, open practice area with continuous adult supervision.
- The child is tired, upset or riding mainly to satisfy an adult.
Waiting is not a setback. Balance-bike and pedal-bike practice develops steering, vision, braking and body position without adding motorized momentum. A few months of better foundation can make the first powered sessions much more successful.
Parents must be ready too
A child's readiness is only half of the decision. The supervising adult must understand the bike, set and enforce speed limits, inspect it before use and stay close enough to intervene. The practice area should be separated from cars, pedestrians, pets, fixed obstacles and drop-offs. Public streets and sidewalks are generally inappropriate for off-road motorcycles, and state or local rules may require permits, safety certificates, specific helmets or designated riding areas.
The U.S. Consumer Product Safety Commission's off-highway safety materials emphasize helmet use, youth-sized machines and hands-on training. Rules for dirt bikes are not identical to ATV rules, but the underlying principle is useful: match the vehicle to the young rider and do not substitute casual supervision for training.
Common mistakes when introducing kids to dirt bikes
Starting with speed instead of control
Top speed is a poor first-bike goal. The most useful beginner features are predictable low-speed response, reliable braking, manageable weight and controls the child can reach.
Unlocking a faster mode after one good ride
Progress should be based on repeated performance. A rider should start, stop and turn smoothly across several sessions before moving up. Excitement on day one is not the same as an established habit.
Teaching on a slope
Even a mild hill changes acceleration, stopping distance and the force needed to hold the bike. Begin on flat ground and add terrain gradually.
Using casual bicycle gear
A bicycle helmet or open shoes may not provide the protection expected for motorized off-road riding. Choose equipment designed and certified for the intended use, make sure it fits, and replace damaged gear according to the manufacturer's guidance.
Frequently asked questions
Can a three-year-old ride a dirt bike?
For most three-year-olds, a non-powered balance bike is the better foundation. A powered model should only be considered if the manufacturer approves that age and size, the child passes every readiness test, the lowest setting is genuinely manageable and an adult provides direct supervision in a controlled area.
Is six the best age to start?
Six is a common starting age because many children have bicycle balance, can follow multi-step instructions and fit youth-sized machines. It is not a guarantee. The AMA notes that MSF DirtBike School accepts students age six and older, but individual readiness and fit still decide whether a particular child should ride.
Does my child need to know how to ride a bicycle first?
It is strongly preferable. Independent bicycle or balance-bike skills demonstrate steering, visual attention and balance without motor power. A child who still needs training wheels has not yet shown the two-wheel balance required for a dirt bike.
Should both feet be flat on the ground?
For a young first-time rider, secure ground contact is valuable, but the exact requirement depends on the bike and manufacturer. Do not use flat-footing as the only test. Brake reach, bar position, vehicle weight and low-speed control are equally important.
Are training wheels a safe shortcut?
Training wheels can prevent a stationary tip-over, but they change how a two-wheel bike turns and do not teach normal balance. They should not be used to compensate for an oversized or overly fast machine. Follow the bike and accessory manufacturers' instructions.
How fast should a beginner ride?
Use the lowest manufacturer-provided mode that allows smooth control in the practice space. There is no universally safe beginner speed because bike weight, surface, stopping distance and rider skill all matter. Increase the setting only after consistent starts, stops and turns.
How long should the first session last?
Keep it short enough that the child finishes attentive and successful. Ten focused minutes may be more productive than an hour. Stop earlier if the rider becomes tired, frustrated or less responsive to instructions.
When can a child start riding trails?
Only after flat-ground control is dependable. The child should be able to start, stop, turn, stand lightly on the footrests and respond to a surprise without grabbing the throttle. Begin with a wide, smooth, permitted trail and an experienced supervising adult.
Should siblings learn together?
They can share a practice day, but each child should ride one at a time during early sessions. Competition and distraction make it harder to evaluate control. Never assume siblings of similar age need the same bike or speed setting.
What is the most important sign that a child is ready?
Consistency. A ready child can repeat safe starts, stops and responses even when excited. One successful attempt is encouraging; repeated controlled behavior is the real green light.
The bottom line
Kids should start riding dirt bikes when their skills, size, judgment and equipment all line up—not when they reach a birthday printed on a chart. Begin with balance and braking, choose a bike that fits now, keep the first speed setting low and train on flat private ground. If any part of the fit or readiness test is uncertain, waiting and practicing on a non-powered bike is the smart next step.
Compare the Ecoleap K1 and K2 before choosing the right stage. See the Ecoleap K1, see the Ecoleap K2, read our kids' dirt bike height guide, or use the kids' electric dirt bike buyer's guide.
Safety resources: AMA: Getting Started Riding With Kids, AMA: Getting Started Off-Road Riding, and U.S. CPSC Safety Education Materials.
Safety note: This article provides general educational information, not a substitute for the product manual, professional rider training or local law. Rider readiness varies. Product speed and range can change with rider weight, terrain, temperature and riding mode. Children should ride off-road only in permitted areas under responsible adult supervision.


Share:
Choosing a Kids’ Dirt Bike by Height
KTM SX-E 2 vs SX-E 5: Which Kids’ Electric Dirt Bike Fits?